I love everything about this week’s recipe so much that it will become a new Christmas tradition! It is beautiful, creative (whoever came up with it was brilliant), and so fun to make and oh did I mention how amazing it tastes? You get to cook and do a crafting project. It doesn’t get any better, right?
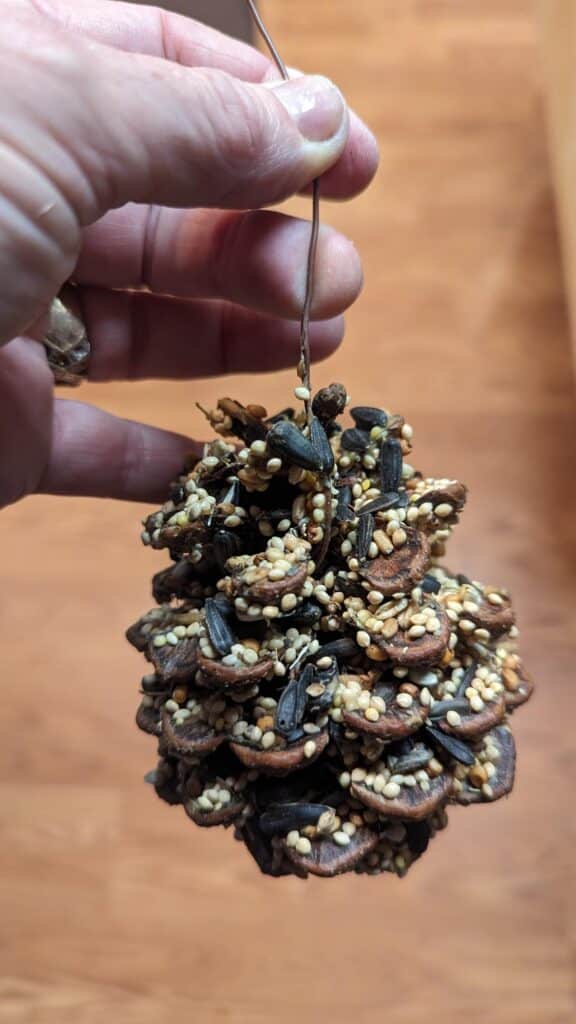
This pine cone idea all started with a trip to the local Goodwill store. I found a big bag of pine cones for $3 in the crafting section so I couldn’t pass it up. I wasn’t quite sure yet how we were going to transform them but that only meant some fun future research. At the same time, the days are getting so much shorter and temperatures have been dropping, and we have been noticing that there isn’t much for our birds to feed on. So that was it! We are turning pine cones into bird feeders. How?
All you need is some soft wire, a needle nose plier (to attach and suspend the cones from branches), some creamy peanut butter and a bag of mixed bird seeds. You may also want to cover your working surface with some plastic because it is going to get a little messy. Soft peanut butter and bird seeds, what could go wrong ? This is is a great project to do with friends and family! It is all natural and the birds will love finding them around your yard.
My first pine nut
Come to think about it, my first memory of pine cones was way back in the seventies, waiting for my mom or dad to pick me up after school (first grade) in Cannes, my hometown. The school was surrounded by tall pine trees that would drop their cones every where in the fall and reveal tiny pine nuts. They weren’t ready to eat without first finding two stones to smash the hard casing that was protecting the tiny nuts. I can’t tell you how many smashed finger tips resulted from a second of inattention but it was all worth it! I can still recall the quest for the hidden treasures and the reward of biting into a tender nut. I now understand why pine nuts are so expensive!
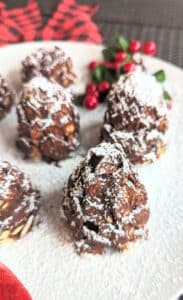
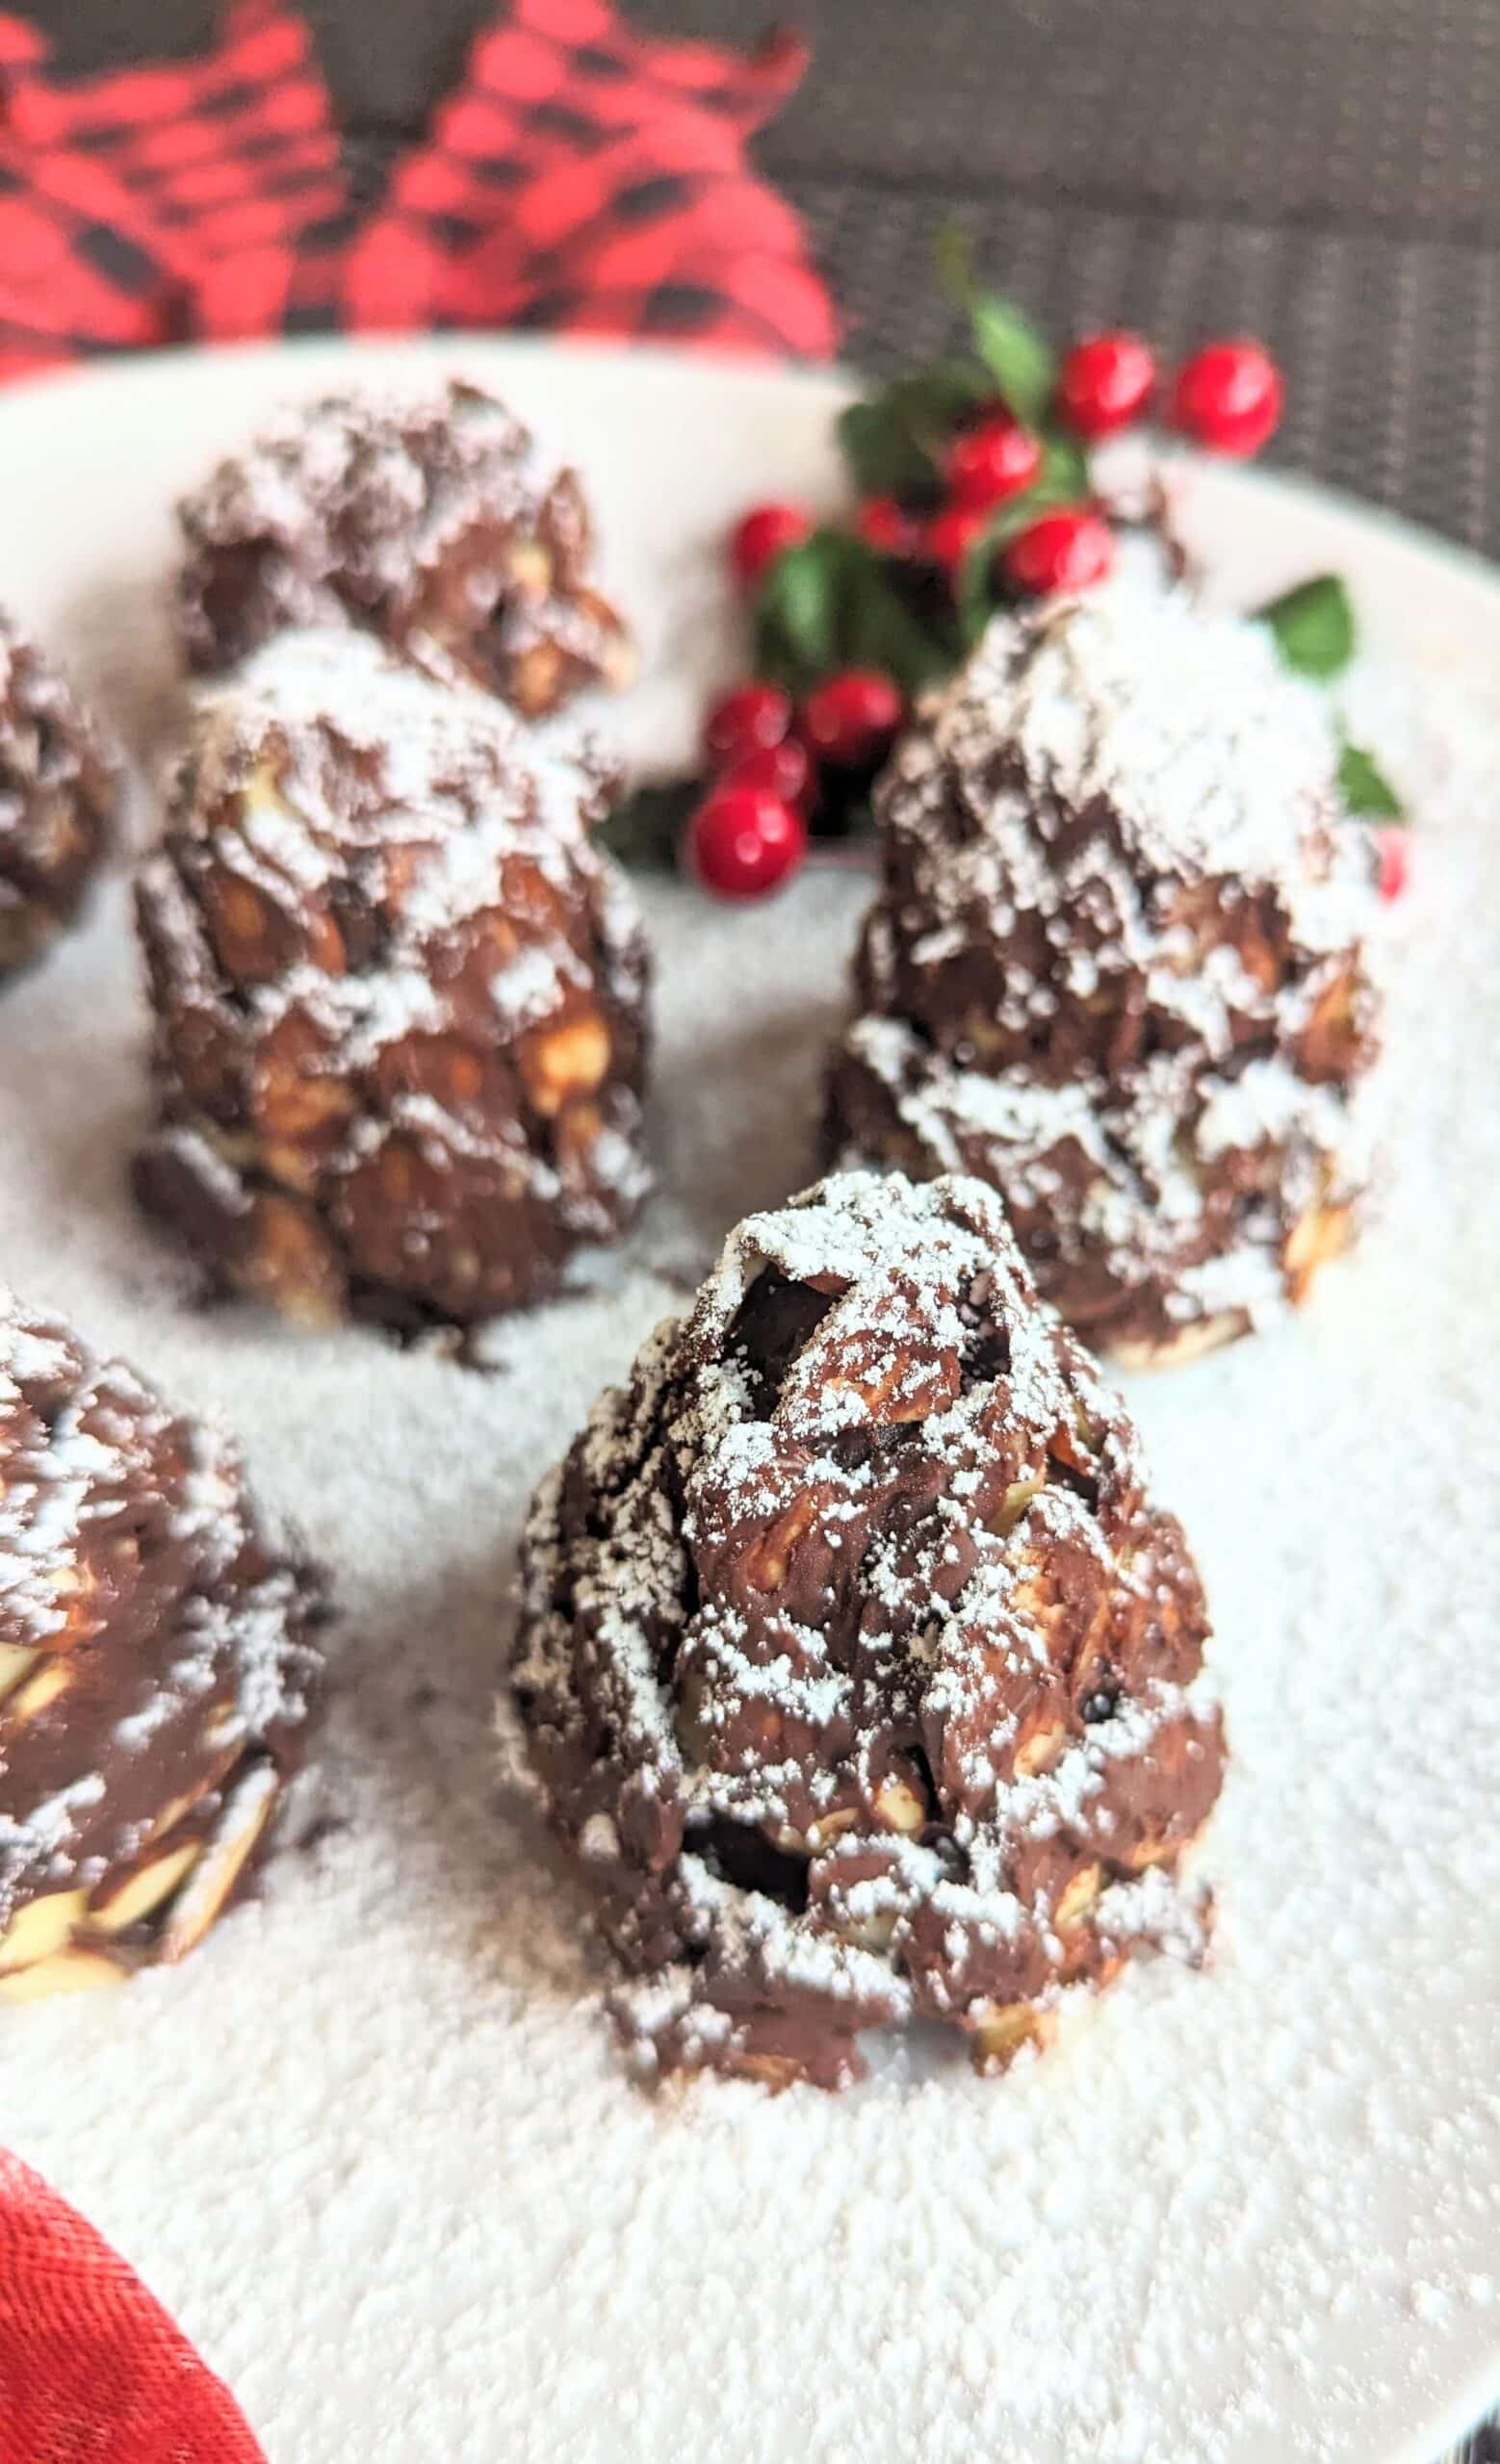
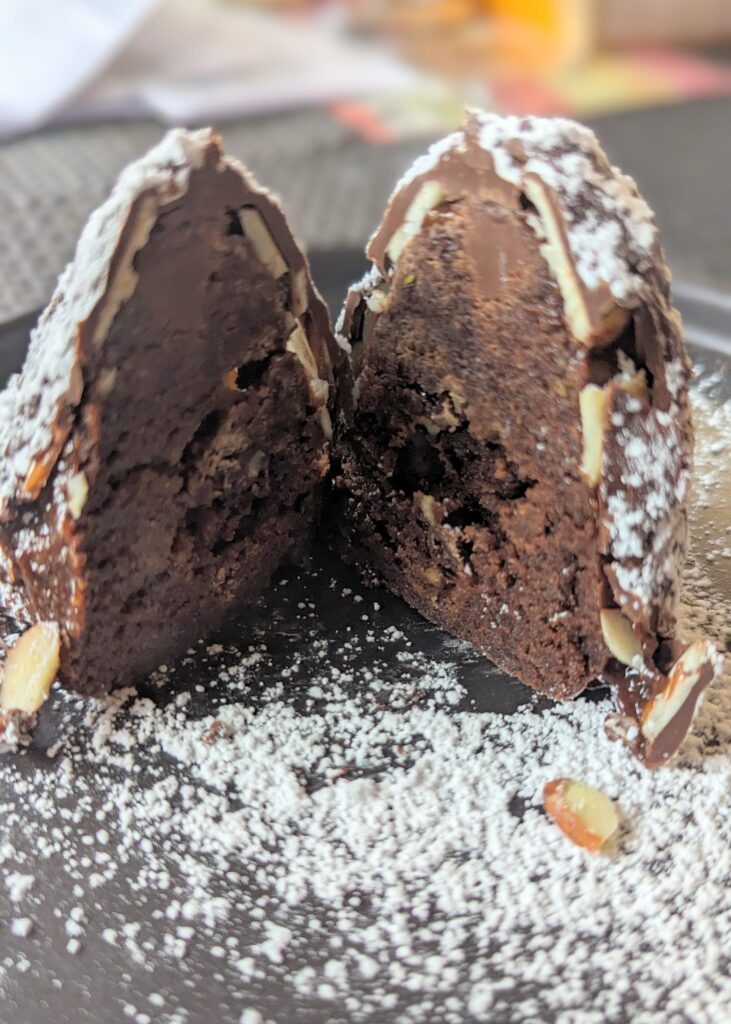
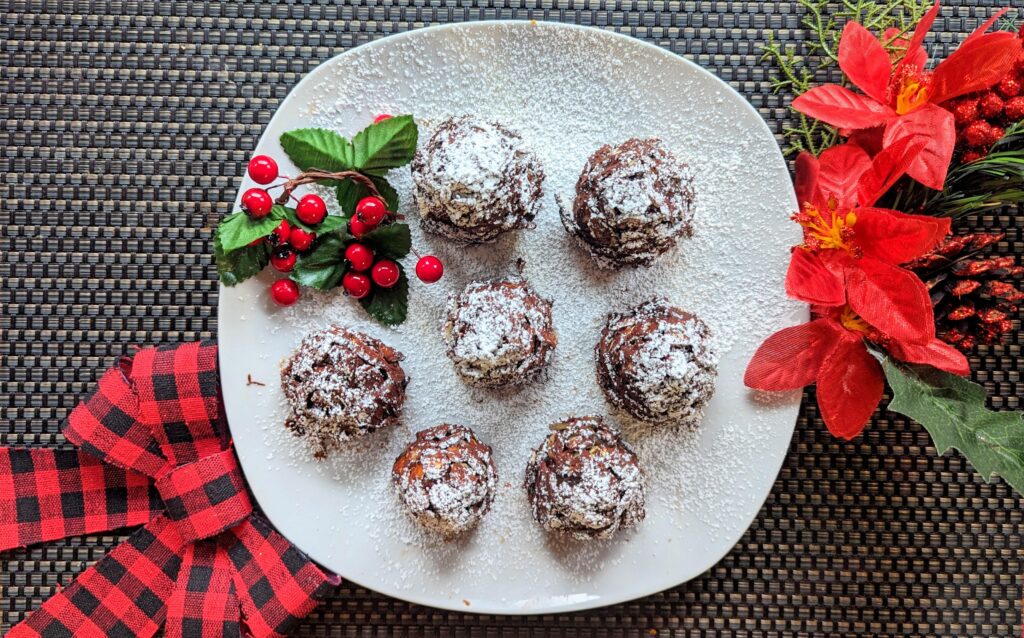
As we were making our pine cones bird feeders, I remembered seeing a photo of what looked just like a medium pine cone but turned out to be cake in the middle.
I had to try it. Time to break out my best vegan brownie recipe!
Making vegan brownies
I first tried my no-bake brownie recipe thinking that it would be easier to shape into a pine cones but it turned out to be a bit too soft. I tried a second time and omitted the non-dairy milk and it worked beautifully. This recipe is much healthier than regular brownies that you have to bake because it only uses less flour and lot less sweetener. You also don’t have to bake it, just refrigerate it for an hour or two.
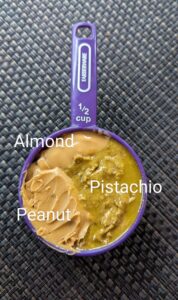
1/2 cup of nut butter (almond, peanut, pistachio or a combo)
1/3 cup maple syrup
1/2 cup vegan cocoa powder
1/4 cup flax meal or chia
2 tbsp water
1 tsp vanilla extract
1/4 cup cooked sweet potatoes, all-purpose flour (coconut or gluten-free mix)
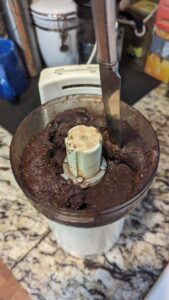
Blend everything until is smooth. It will be thick and a little sticky. Refrigerate for a few hours.
I also tried my traditional brownie recipe (with walnuts, chocolate chips, ground flax, brown sugar, flour). It makes great brownies with lots of crispy edges but I had to only use the inside part in order to shape them into cones so I was only able to make 7 cones. It is best to slightly undercook them so that they are a little softer. Since you are not using eggs there is no risk there!
Creating pine cones
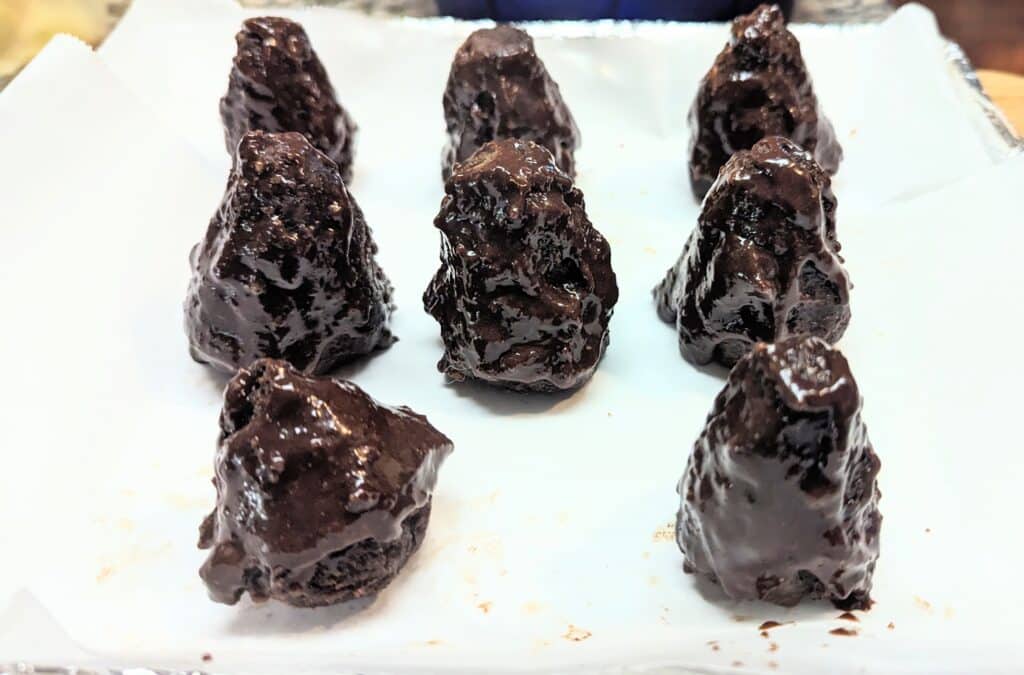
This is where the cooking ends and the crafting starts. Remove the brownie mix from the refrigerator. Scoop out a ball that you will shape into a pine cones by rolling one end and flattening the other so that it can stand without falling. They don’t need to be perfect. Place each cone on a plate or a sheet leaving enough space around each to that you can easily access all sides. You can place a fork under each and use it to turn the cones.
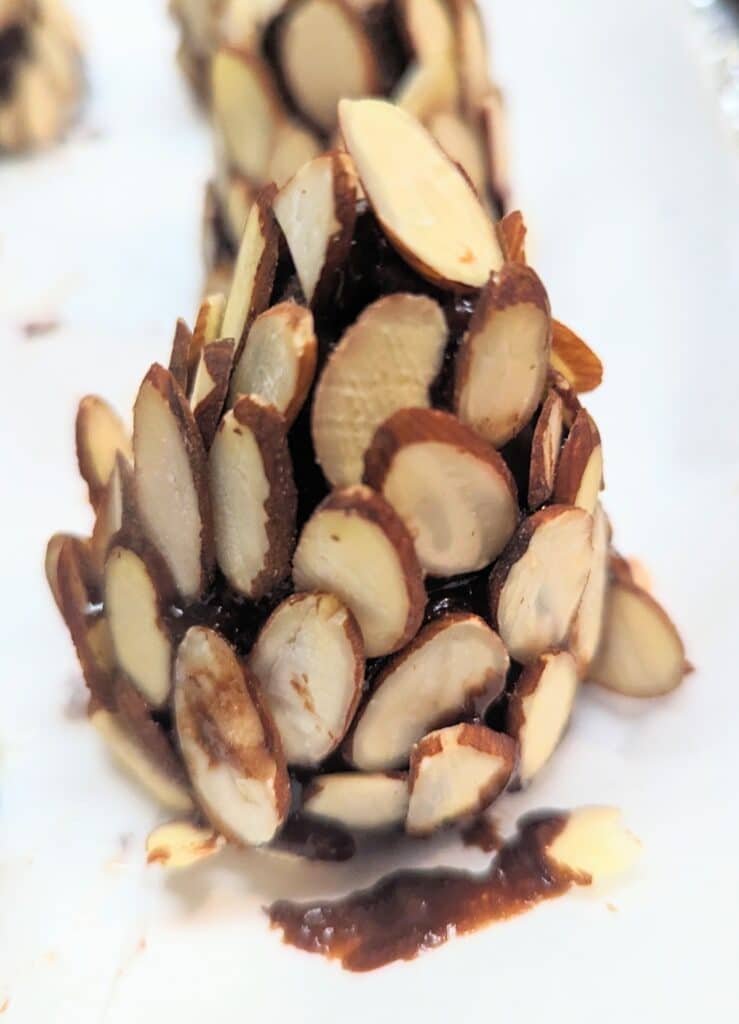
Start at the top and add slices in a circular motion. It takes a while to cover all sides but patient
Next is melting 1/2 cup of vegan or dark chocolate chips either in the microwave or in a double boiler.
Using a silicone brush, lightly apply some of the chocolate over the almonds.
Use a small strainer, sprinkle some powder sugar making sure to cover all sides.
TIPS
If you are baking your brownies
– Allow them to cool down 5-10 minutes but don’t let them dry out because you need a soft surface to insert the delicate sliced almonds.
– Reduce the amount of sweetener so that the brownies don’t harden as much.
– Make sure you have time after baking your brownies, to shape them and add the sliced almonds. Refrigerate the cones for 5-10 minutes while you are melting the chocolate. Once the chocolate is melted, use a spatula to lift each cone and brush or drizzle it over the cones. Place back on the lined baking sheet and sprinkle a little powder sugar to the finishing touch.
No bake brownies
– Don’t have flax or chia seeds? You can substitute with some psyllium powder.
These cone brownies can be frozen so you make extra batches and even make gifts. They are a beauty!

Pine Cone Brownies
Equipment
- food processor
- small strainer
Ingredients
Brownies
- 1/2 cup nut butter (almond, peanut, pistachio or a combo)
- 1/3 cup maple syrup
- 1/2 cup vegan cocoa powder
- 1/4 cup flax or chia powder
- 3 tbsp water
- 1/4 cup cooked sweet potato, all-purpose, coconut flour or gluten-free flour
Cone finishing
- 1/2 cup vegan chocolate chips
- 1 cup sliced almonds
- 1/2 cup powder sugar
Instructions
Make the Brownies
- Mix 1/4 cup flax meal with 2-3 tbsp water.
- Add the nut butter, maple syrup, cocoa powder, liquid flax, vanilla extract, cooked sweet potato or flour to a food processor.
- Process until smooth. The mix will the thick and a little sticky.
- Refrigerate for 15 minutes.
Create the cones
- Scoop out small golf ball sizes and roll one end to shape like a cone and flatten the bottom.
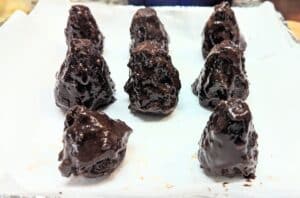
- Place on a baking sheet, leaving enough space around each cone to add the almond slices.
- Melt 1/2 cup of chocolate chips in the microwave (about 1 minute in 30 seconds increments) or in a double boiler.
- Use a silicone brush and lightly apply some of the melted chocolate to the cones.
- Place almond slices all over the cones starting at the top.
- Use a small strainer, sprinkle some powder sugar making sure to cover all sides.
